7 Steps For Simplifying Your Next Paint Project
Friday, September 25, 2015
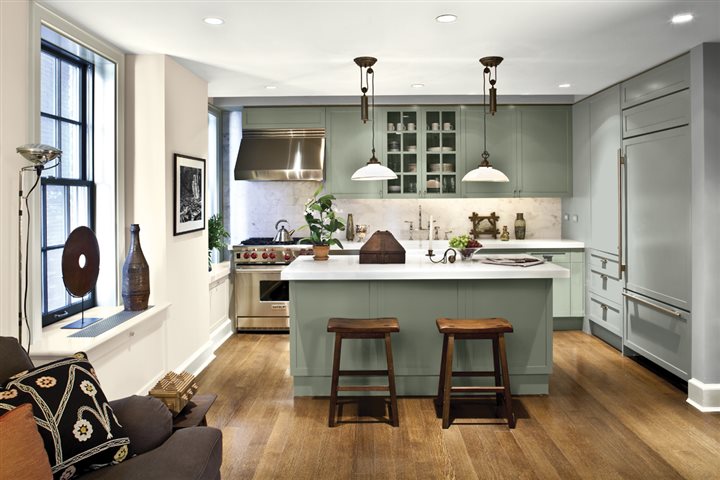
If you’re considering a household painting project, now’s the perfect time. The summer’s hottest days are in the past and winter’s frigid temperatures aren’t even on your radar. Whether you plan to paint your kitchen, a hallway, outdoor siding or a refurbished piece of furniture, keep in mind a few helpful tips to make your project flow a little bit easier.
- Patch holes and imperfections. For better or worse, painting a room allows you to examine all of the walls and find any imperfections in need of repairs. In most cases, these dents can be repaired with a caulk or a putty knife and some spackle or joint compound. Whatever repairs are in order, they should be done a few days before your painting project begins, to ensure that everything is completely dry when it comes time to paint.
- Prepare the area before you paint. Proper preparation is key to ensure less frustration later on. First, remove draperies, pictures, switch and outlet cover plates from walls. Second, wipe off any dirt or dust from walls and baseboards with a damp cloth. If the area is highly contaminated, use a mild detergent. Lastly, tape off any woodwork, windows and trim. Using a strong, long-lasting painter’s tape can ensure your beautiful baseboards and your woodwork are protected, ultimately making them stand out.
- Find the right finish for the job. Consider the amount of dirt and activity your walls will be exposed to before choosing your paint sheen. Flat or eggshell sheens should be used in low-traffic areas, because they hold dirt and are more difficult to clean. Semi-gloss and gloss finishes are best suited for high-traffic or active areas, such as a child’s bedroom, because they can be easily washed without losing their luster.
- Choose a durable paint. If you’re looking for a paint that can stand up to the daily wear and tear that happens on the inside and outside of a busy home.
- Work from the top down. If you’re painting a room, start with the ceiling first. If you’re painting another area or structure, begin with the highest point.
- Use the proper brush or roller technique. When utilizing a brush for tight trim work, dip half the length of the bristles into your paint, then gently tap the brush on the side of the can rather than wiping it across the lip. Be sure to hold the brush handle near the base to ensure maximum control, applying light pressure to the surface being painted. When using a roller on larger surfaces, slowly roll the brush into the paint tray, ensuring an even coat on all sides. Use the ridges in the upper portion of the tray to remove excess product, then paint the surface in a capital “M” motion. Continue this motion until the area is completely covered.
- Keep your workspace ventilated. This season’s temperatures are perfect for a do-it-yourself (DIY) project so take advantage of it. If your project has you painting indoors, open the windows and allow a fresh breeze into your painting space while you work. And when the project is done and your paint has dried, keep the windows open for a few hours to ensure your new room looks as great as it smells. If your project has you painting outside, make sure that the weather forecast is clear for a few days so that your newly-painted project has ample time to dry.
Whether this is your first painting project or you’re a seasoned do-it-yourself painter, there’s something exciting about picking up a roller and recreating a space with a fresh coat of paint. (BPT)